Forwarding BuckeyeMail
Listen to this Reading:
Kyle Tolle reading ‘Forwarding BuckeyeMail’
UPDATE: Please see my ‘Update on OSU Email’ post for the feedback I got on this post and what I learned about how the BuckeyeMail system works. Fixing the forwarding is way easier.
Ohio State is rolling out it’s new BuckeyeMail service. They’re releasing it in phases, and I only just got the chance to sign up for it. Annoyingly, I had to muck around with resetting the password and wait several days for my account to unlock (from trying what should have been the correct password too much).
When I finally logged in today, I found that I had missed several days of emails because the @osu.edu address now forwards to the @buckeyemail.osu.edu address, which I couldn’t log in to.
For the webmail system, there was a web form you could fill out to forward your email to another account. The settings are not migrated from webmail to BuckeyeMail, however. You’re going to have to set it up on your own again. It’s not overly hard to find this or set it up, but there is no 8Help BuckeyeMail FAQ for this. I decided to write this tutorial to show you how to set up BuckeyeMail to forward to another email account (like Gmail).
This is not the same as setting Gmail up for POP access, which 8Help does have an article on. Forwarding the email allows you to get it instantly in Gmail instead of waiting for Gmail to check the BuckeyeMail servers for new mail. It’s my preferred method. Now, on to the tutorial!
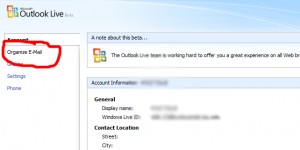
- Go to “Options”, in the upper right hand corner of the page.


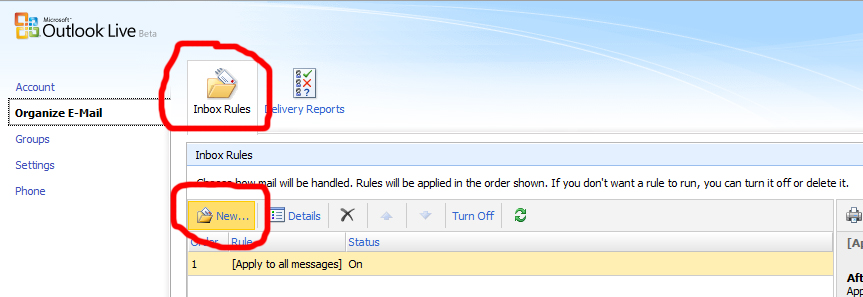
- Go to “Organize E-Mail” in the left side menu.

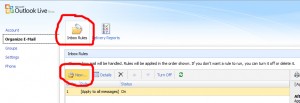
- Under the default “Inbox Rules” tab, click the “New” button.
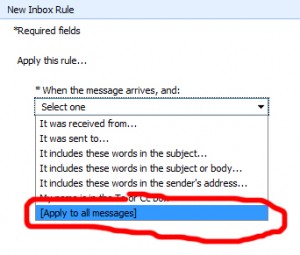
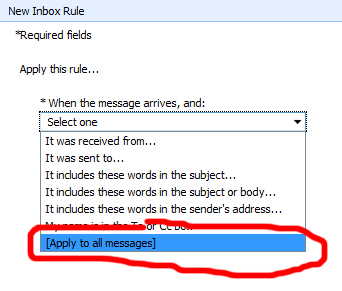
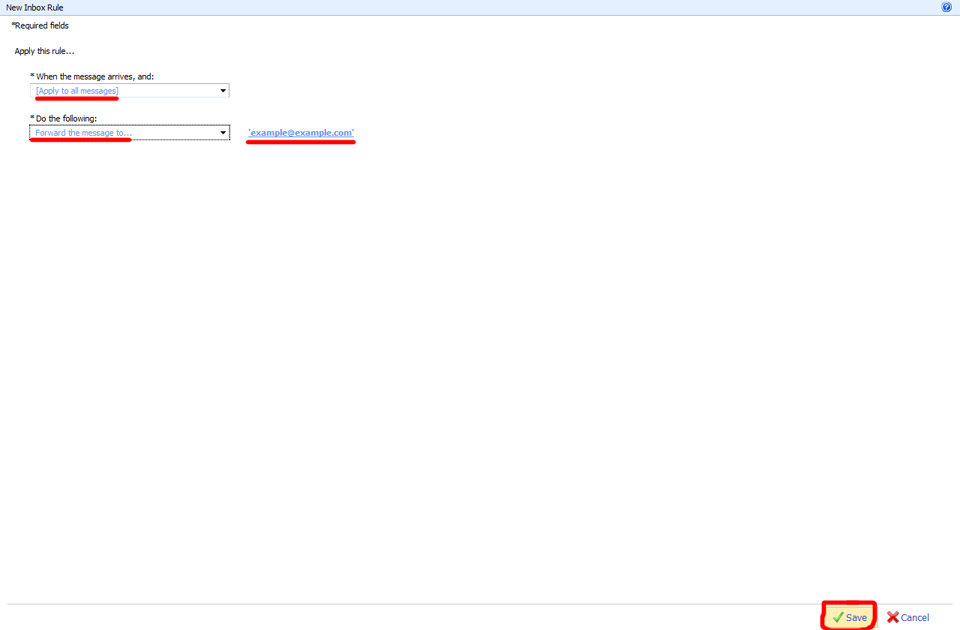
- In the new window, select “[Apply to all messages]” in the first dropdown.
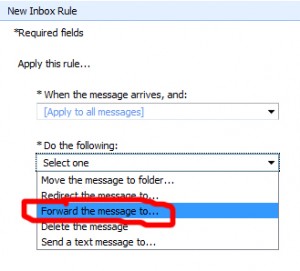
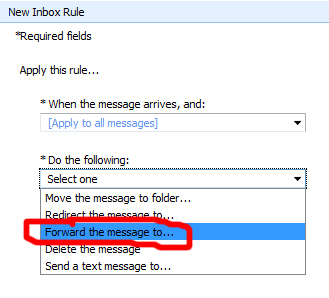
- Select “Forward the message to…” in the second dropdown.
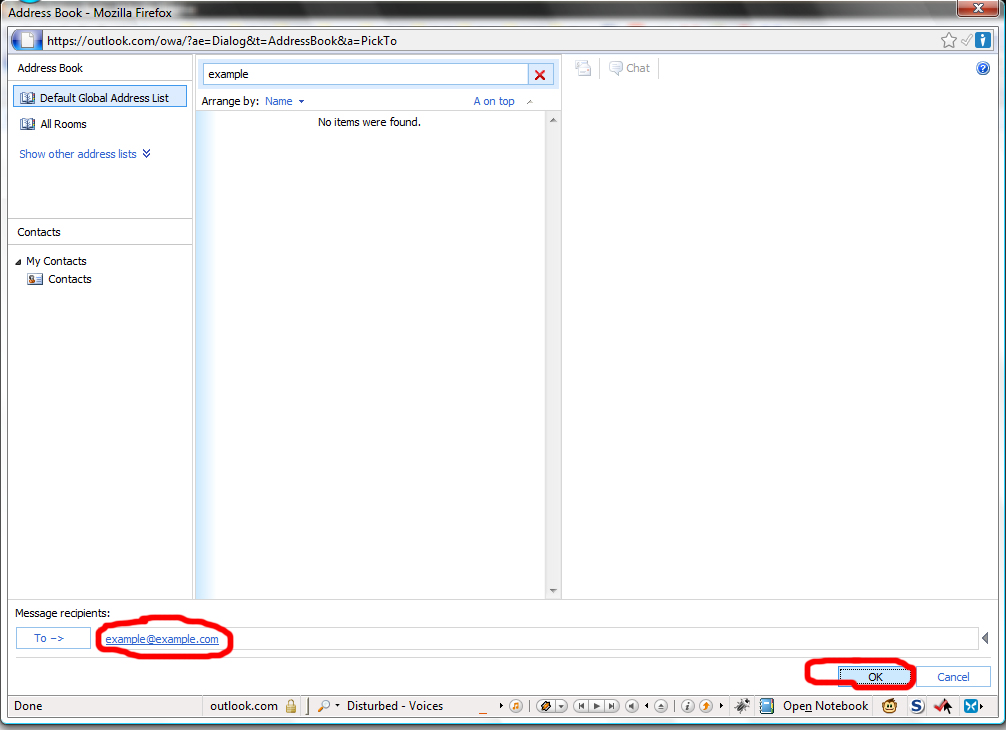
- A new popup appears. Type the email address to forward to in the “Message Recipients”, “To—->” field. Click “Ok”.
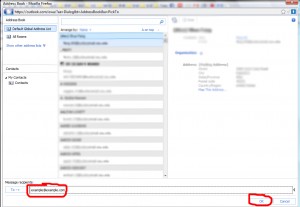

- The email address is turned blue and underlined. Just click “Ok” again.

- The popup closes and you’re brought back to the previous window. Click “Save” to save the rule.
- The rule is saved and now all your email is forwarded to the address you supplied!
Now you’re ready to go about your normal business. Gmail beats Microsoft’s offering anyway.
Hope you enjoyed this tutorial! Please leave me feedback on whether you were able to follow these steps, if you encountered any problems along the way, or you just love me!